
Inserting Tables
Tables are an efficient way to neatly organize data into rows or columns. The steps below will guide you through inserting tables into your buILder.
How to Insert a Table
- To insert a table click on
 icon that is located on the bottom row of the editor tools
 - This box below will appear:
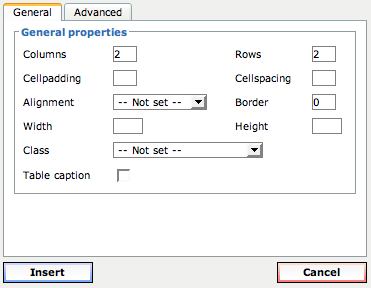
- Choose how many columns and rows you would like on your table
- If you would like the border to appear on your table (lines dividing each cell), in the blank box next to Border (right hand side, 3 down), place the number 1 in that box
- If you do not want the border to appear, leave 0 in the box
- Click
 and your table will appear
Once the Table Appears
- When the table first appears it will look similar to this:
- To change the size your table click in the middle of the table. Small white squares should appear around the perimeter of the table

- To drag the image right, left, up, down or diagonal click on the white boxes and an arrow will appear
- Drag the arrow until the table is the size you are satisfied with
How to Add/Change Background and Border Colors
- To add/change background and border colors click on

- When the box above appears, click on the advanced tab
- It will change to the above:
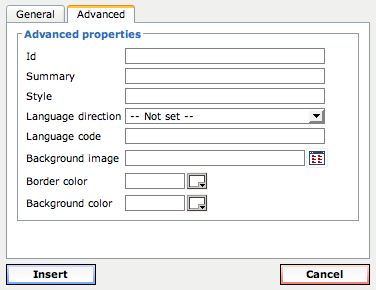
- To change the border color, click on
 next to border color or background color and this screen will appear
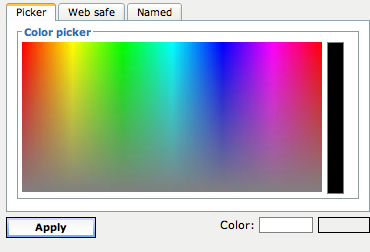
- Choose the color you would like and click on apply
How to Delete Rows and Columns
- To delete a row click on your table
- Next, click on
 on the second row of editor tools to delete one row. Click again to delete another row, etc
 - To delete a column, click on your table
- Next, click on
 found on the third row of editor tools to delete one column. Click again to delete another column, etc.